

Do you want to add some elegance to your rooms? Are you looking for a DIY project that will transform your ceilings?
If so, you might want to try out cutting crown molding and installing crown molding. In this guide, we will show you how to do it the right way, using simple steps and tips.
You don’t need fancy tools or skills, just a standard or compound miter saw and some patience. By the end of this guide, you will be able to cut and fit any corner or joint with confidence and precision.
Simple Steps For Cutting Ceiling Trim

To cut ceiling trim, follow these simple steps:
Measure And Mark The Trim Accurately
In your DIY journey to cutting crown molding and ceiling trim, accurate measurement and marking of the trim cut crown molding are critical. Start this process by measuring the wall where the bottom, outside corner, and inside corner of the cut crown molding will sit.
To ensure accuracy when marking the necessary cut points on your trim piece, consider using a set of crown molding or molding templates as visual guides.
Set Up Your Tools And Safety Equipment
One of the initial stages in successfully cutting ceiling trim is ensuring you have all your tools and safety equipment ready to go. This means an indispensable miter saw, ideally, a compound miter saw, for its ability to make both bevel and miter cuts with precision.
Safety can’t take a backseat in any DIY project. Essential personal protective gear such as goggles will protect your eyes from flying wood particles while working with power tools, and sturdy gloves will prevent potential hand injuries when handling rough lumber or sharp edges on different pieces of trim.
Lastly, ensure you set up your workspace adequately.
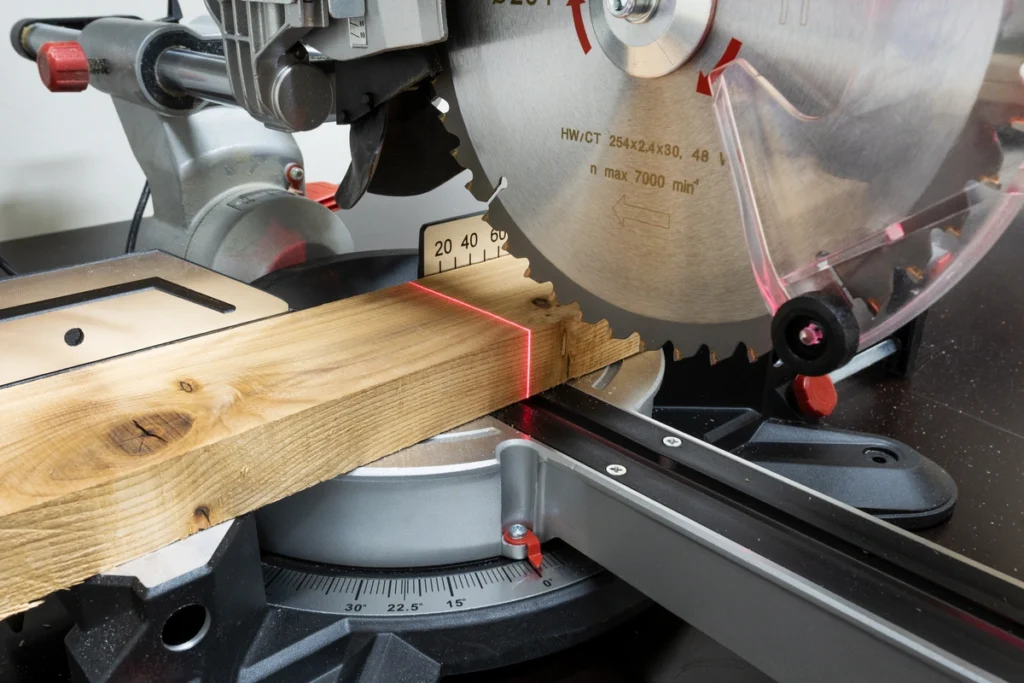
Make The Cuts Using A Miter Saw
Utilizing a compound miter saw, well-known for its versatility, is the next step in cutting crown molding for your walls and ceiling trim. This power tool allows you to make precise cuts at any desired angle – an essential factor when working with crown molding that requires compound miters.
To begin the process, adjust your trusty miter saw according to the measurement markings you’ve made on the trim piece’s outside and inside corners. Position the inside corner and outside corner part of your crown molding flat against the right side of the fence of the saw; this method can simplify the cutting process as it eliminates tricky out-of-square corners without needing a bevel cut.
With safety glasses on and fingers clear, smoothly lower the saw blade down onto your piece in one fluid motion.
Install The Trim Securely
- Gather your tools and materials: miter saw or coping saw, nails or adhesive, level, tape measure
- Choose your method: nailing or gluing
- For nailing: hold the trim upside down and nail it from one end to the other, starting near an edge. Tap the nail lightly with a hammer until it goes through the trim and ceiling without splitting the wood.
- For gluing: apply construction adhesive generously to both the trim and ceiling. Press them together firmly.
- Check for gaps: or uneven spots after each attachment and adjust as needed.
Tips For A Successful DIY Ceiling Trim Project
To ensure a successful DIY ceiling trim and molding project, it’s crucial to use the right tools, take precise measurements, and adhere to proper safety precautions.
Use The Right Tools For The Job
To make clean and precise cuts for your ceiling trim, you need the right tools. One of the most important tools is a miter saw, which lets you cut at different angles.
You also need a measuring tape to measure the length and width of the inside corner of your trim, an angle-finding tool to find the exact angle of your corners, and a coping saw that most miter saws have to cut around them. Using the right tools will make your cutting process much easier and faster.
Take Precise Measurements
Taking precise measurements is crucial to ensure a professional finish when cutting ceiling trim. This step may seem simple, but it can make all the difference in achieving a seamless installation.
Start by measuring the length of the left side of one wall between the walls where you’ll be installing all the pieces of trim.
Next, measure the angles of any corners or turns in your room using an angle-finding tool. These angles of inside corners and the angle of outside corners will help you determine how to cut your trim pieces for a perfect fit.
By taking precise measurements, you can ensure that every cut is accurate and fits seamlessly together during installation.
Ensure Proper Safety Precautions
When you want to install crown molding, it is crucial to prioritize your safety. Before you start cutting crown molding and installing all the extra pieces of trim, make sure you have the necessary safety equipment, such as safety goggles, gloves, and a dust mask.
It’s also important to use caution when operating power tools like miter saws. Familiarize yourself with the user manual and follow all recommended safety guidelines.
Another safety precaution is to secure the trim securely when installing it.
Double-check Your Cuts For Accuracy

Before making any final adjustments, hold the trim up against the corner of the wall or ceiling where it will be installed. This angle allows you to identify if any additional, outside corner, or inside corner trimming is needed to achieve a seamless fit.
Another helpful tip is to use a scrap piece of wood as a template for cutting multiple pieces of identical trim.
By double-checking your cuts before installation, you’ll save yourself time, effort, and frustration down the line.
Conclusion
Cutting ceiling trim is easy with these steps and tools. You can make perfect cuts for any corner or joint. Crown molding and molding add beauty and value to your rooms. If you need help or advice, contact Rankin County Custom today. They are experts in ceiling trim and other home improvement projects.